
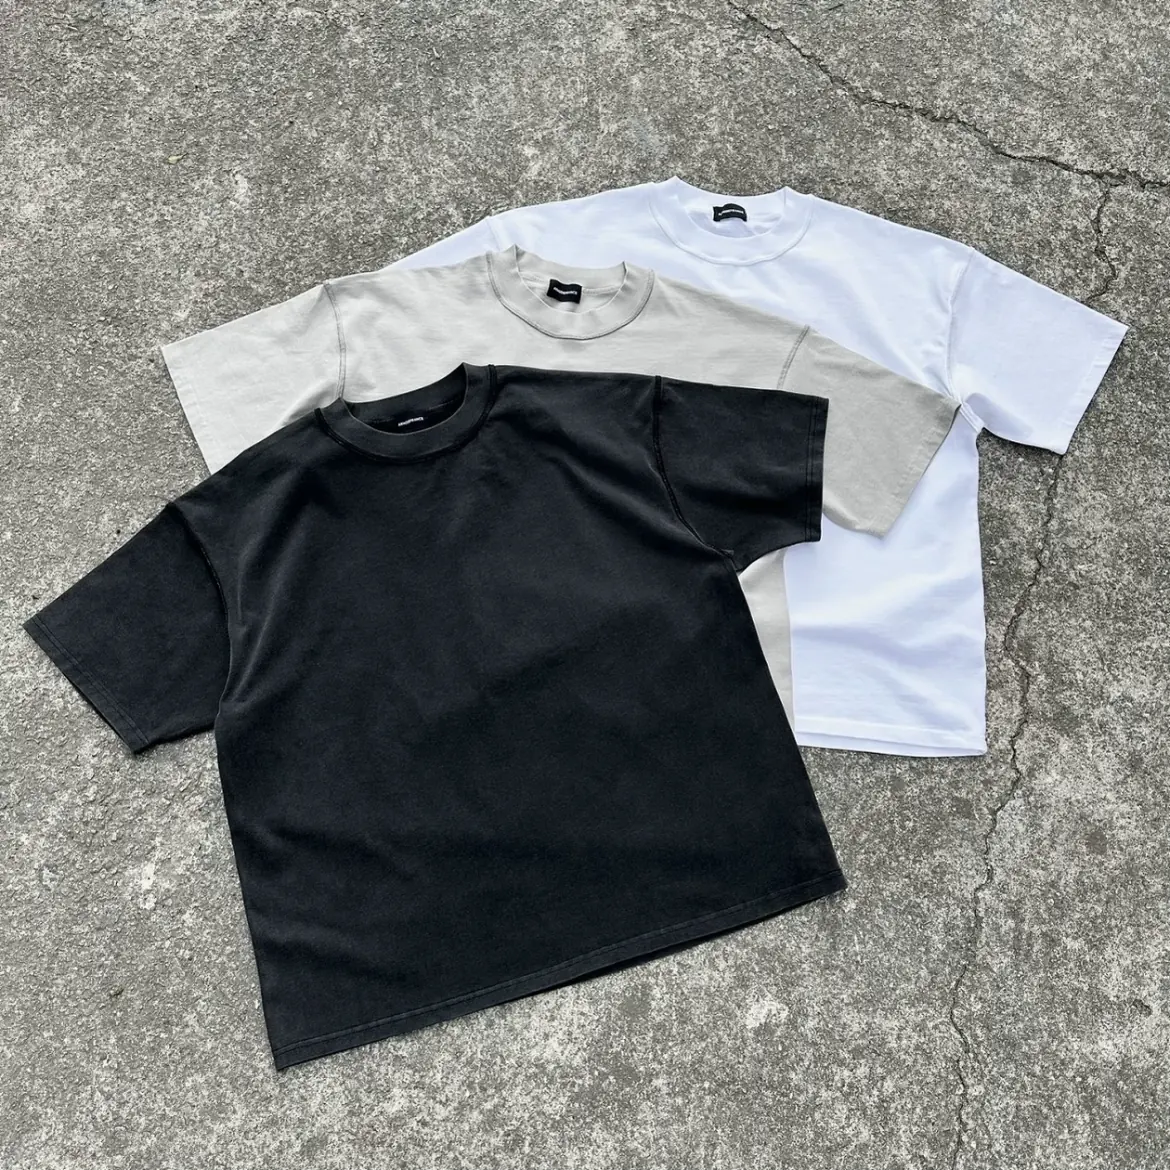
Oversized fit is not created by increasing every measurement on a standard T-shirt. The result depends on shoulder drop, chest ease, body length, sleeve volume, neckline support, and how the jersey drapes. Brands developing oversized tees need a clear reference silhouette and graded measurements so the intended proportions survive across sizes and colors.
Oversized is a pattern decision
Increasing every measurement of a regular T-shirt creates a larger garment, not necessarily a desirable oversized silhouette. Boxy proportions balance chest, shoulder drop, armhole, sleeve width and body length. Use a clear sample garment and size chart as the fit reference, then evaluate the result on the intended customer.
Define the intended body shape: boxy, longline, cropped, wide sleeve, or slouchy. Each calls for different pattern proportions.
Fabric changes the silhouette
Soft, fluid jersey drapes around the body while compact heavy jersey supports a boxier shape. Choose material weight and finishing together with the pattern. Assess whether the garment looks bulky at the neckline or collapses at the hem. Wash tests are necessary because knit relaxation can change how an oversized piece hangs.
Test jersey weight and recovery on the actual pattern. A rigid 260 GSM cotton and soft 180 GSM knit can look very different in the same dimensions.
Design the neck and sleeves deliberately
A dropped shoulder affects sleeve pitch and apparent sleeve length. A thick collar can feel disproportionate on light fabric, while a weak collar may stretch on a heavy garment. Specify neck opening, rib width, sleeve length and armhole depth in the technical brief. Compare left-right symmetry on the sample.
Measure shoulder seam position, neck opening, rib height, sleeve length and opening, chest, and body length on a finished garment.
Place artwork relative to the fit
Oversized garments have more surface area, but artwork should not simply be enlarged automatically. Define print width, top distance and horizontal centering for each size or a consistent size group. Check whether a large back print sits below the shoulder blades as intended. Approve actual prints on fabric before bulk.
Anchor graphics to the center front/back and specific measurement points. Oversized blocks may move print placement relative to the wearer's body.
Grade the look across sizes
An oversized size S should not be an accidental regular size L. Create deliberate grading increments that maintain the silhouette. Fit-test more than one size where practical and check finished measurements after washing. Document a tolerance that allows production consistency without hiding meaningful shape differences.
Grade deliberately; a proportional increase can make small sizes too long and large sizes excessively wide. Check at least representative sizes.
What to include in the supplier brief
A good oversized T-shirt tech pack uses a deliberate measurement framework. Include shoulder width, chest width, body length, neck width and depth, sleeve length, bicep or sleeve opening, and hem width. The final garment should be assessed against both a flat measurement sheet and a reference fit on a body. One of the most common errors is grading every dimension proportionally from a medium; the sleeve can become too long in small sizes and the body too wide in larger ones. Use the intended customer size range to guide a graded silhouette.
Factory-side controls and approval
Fabric and artwork need coordinated approval. A 260 GSM compact knit may hold a boxy body, while a softer 200 GSM jersey can fall more fluidly, altering perceived length and print position. The neckline must recover despite the wider silhouette. If a large chest or back graphic is planned, its edges and center should be positioned from confirmed POMs, with rules for whether the graphic scales by garment size. Wash and remeasure the finished sample, because a small length change can materially affect a cropped oversized look. Preserve a physical reference for reorders.
Production decisions to document
| Decision | What the buyer should verify |
|---|---|
| Silhouette | Boxy/longline/cropped choice and body ratio |
| Pattern | Shoulder drop, neck, sleeve and chest POM |
| Fabric | Knit density, GSM, recovery and hand feel |
| Graphics | Placement relative to finished seams and sizes |
Illustrative production scenario
An oversized tee reference has a dropped shoulder and short, wide body. Enlarging a regular-fit medium to an XL might add unwanted length while failing to create the sleeve shape. A revised base pattern should preserve the body-width-to-length relationship and specify size-by-size grading. Fabric drape can then be tested without disguising a pattern problem.
Buyer checklist
- Supply a target fit garment or measured reference.
- Select jersey weight together with pattern shape.
- Approve collar, shoulder drop and artwork placement.
- Check the silhouette across the size range.
Two mistakes to avoid
- Using simple size scaling as a substitute for oversized pattern development.
- Positioning artwork from a model photo without garment measurements.
Frequently asked questions
Can I use a standard size chart?
Use it only as a starting point; oversized fit needs intentional proportions.
Which fabric is best?
It depends on whether you want fluid drape or a structured boxy look.
Should every print scale by size?
Not always. Decide a consistent placement and scaling strategy.
Discuss your project with MuseArk Studio
Send front/back fit references, your target size chart, jersey direction, artwork, and quantities. We can discuss the pattern and sampling route.
Request a Custom Apparel Production ReviewRelated MuseArk resources
- Custom T-shirts and jerseys
- Factory and sample evidence
- How our development process works