Project Brief
Define category, order volume, fit direction, reference images, target margin, launch date, and must-have details.
 Start a Project
How It Works
Turn references into a production-ready plan, approve samples with context, and move into bulk manufacturing with documented specs.
Workflow
Define category, order volume, fit direction, reference images, target margin, launch date, and must-have details.
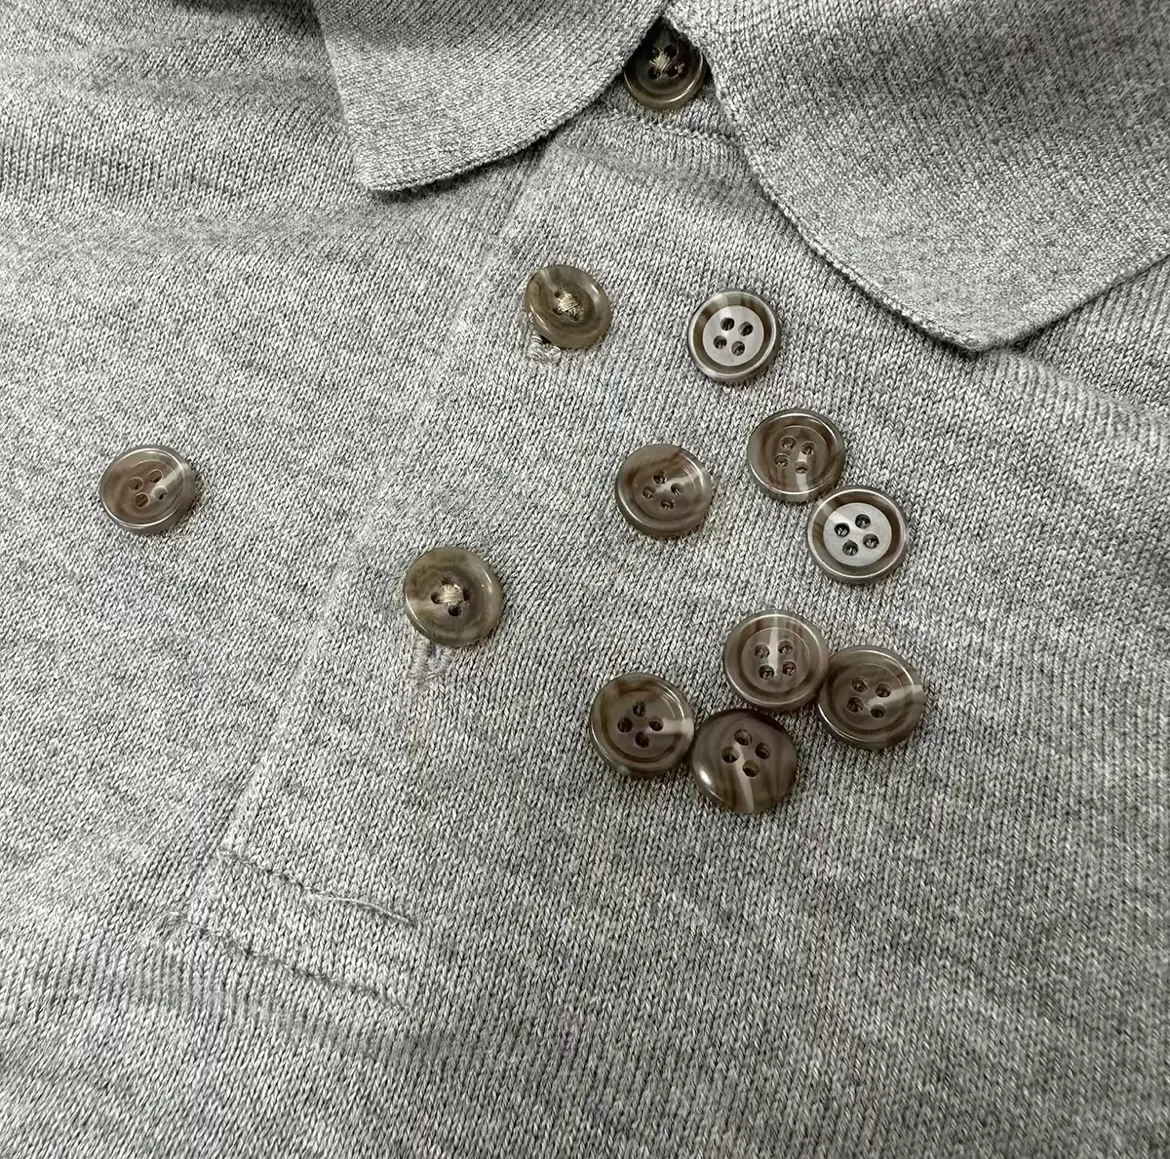
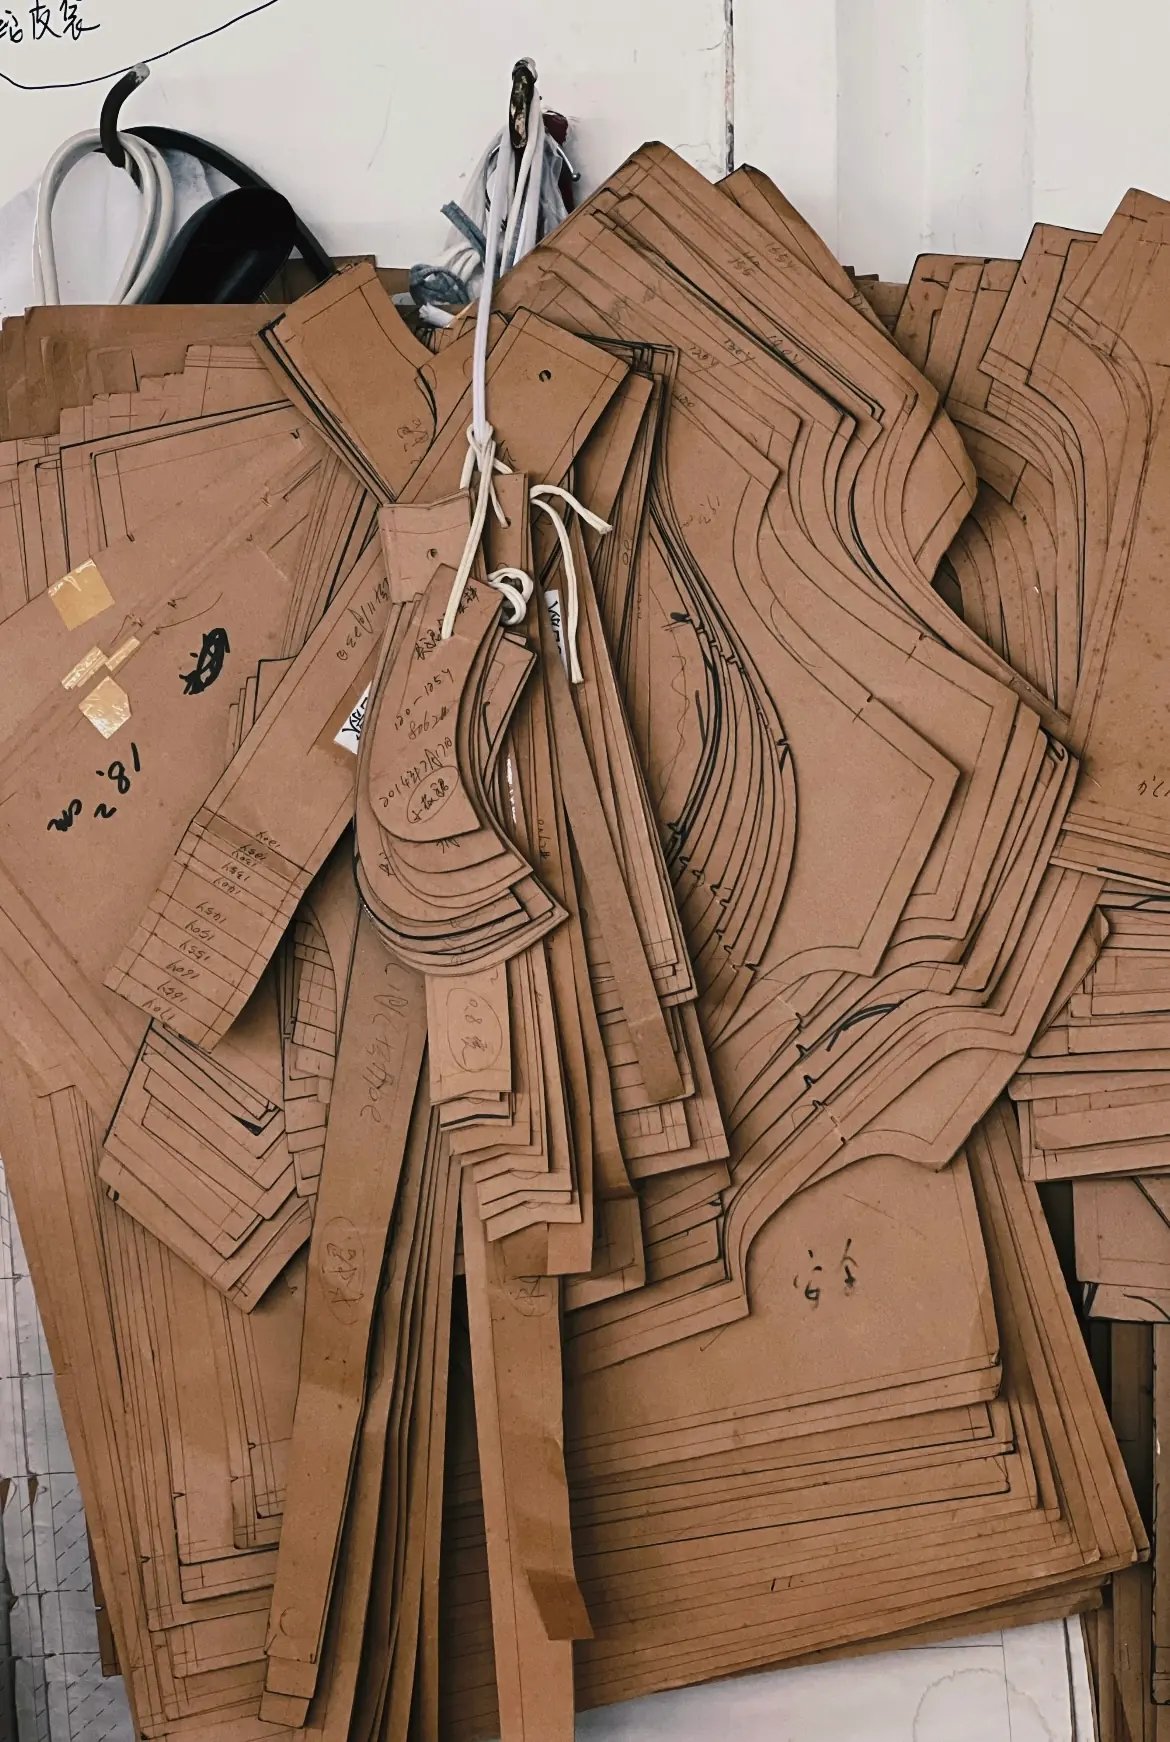
Build BOM, mockup, measurements, construction notes, labels, trims, artwork placement, and QC requirements.
Check material availability, factory match, MOQ, estimated cost, sample route, and production timing.
Produce fit or pre-production samples, review photos and measurements, and lock changes before bulk approval.
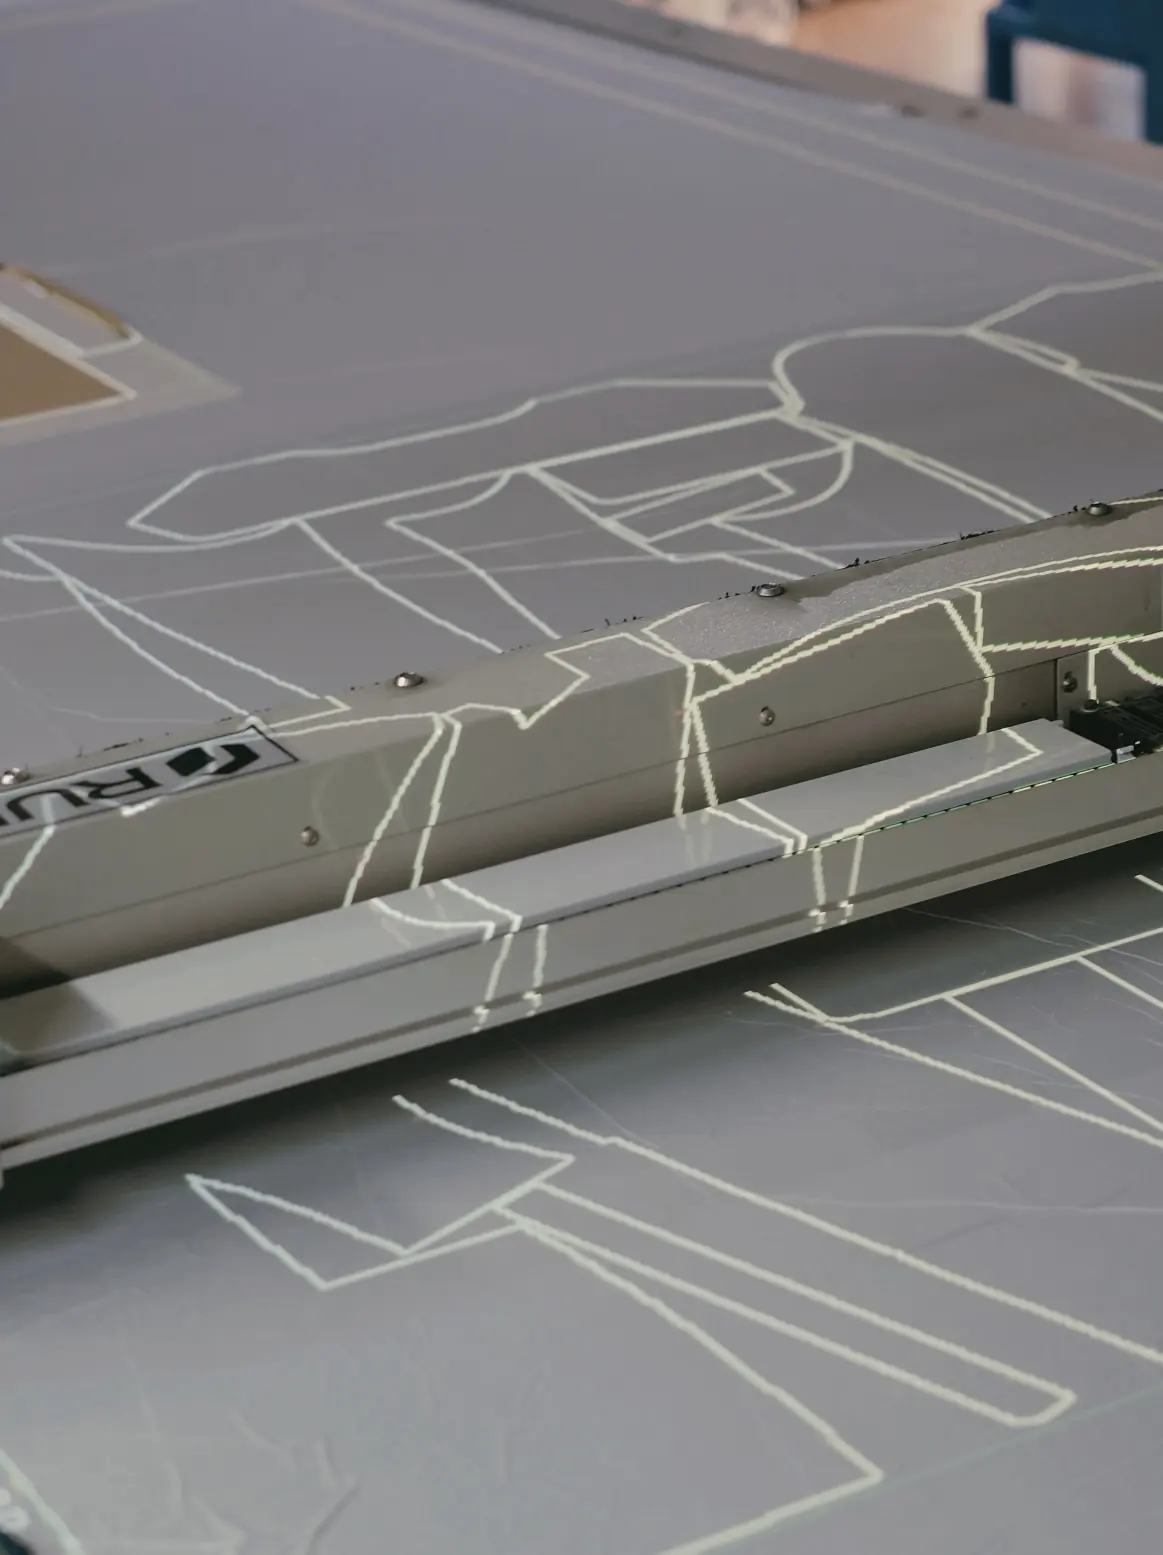
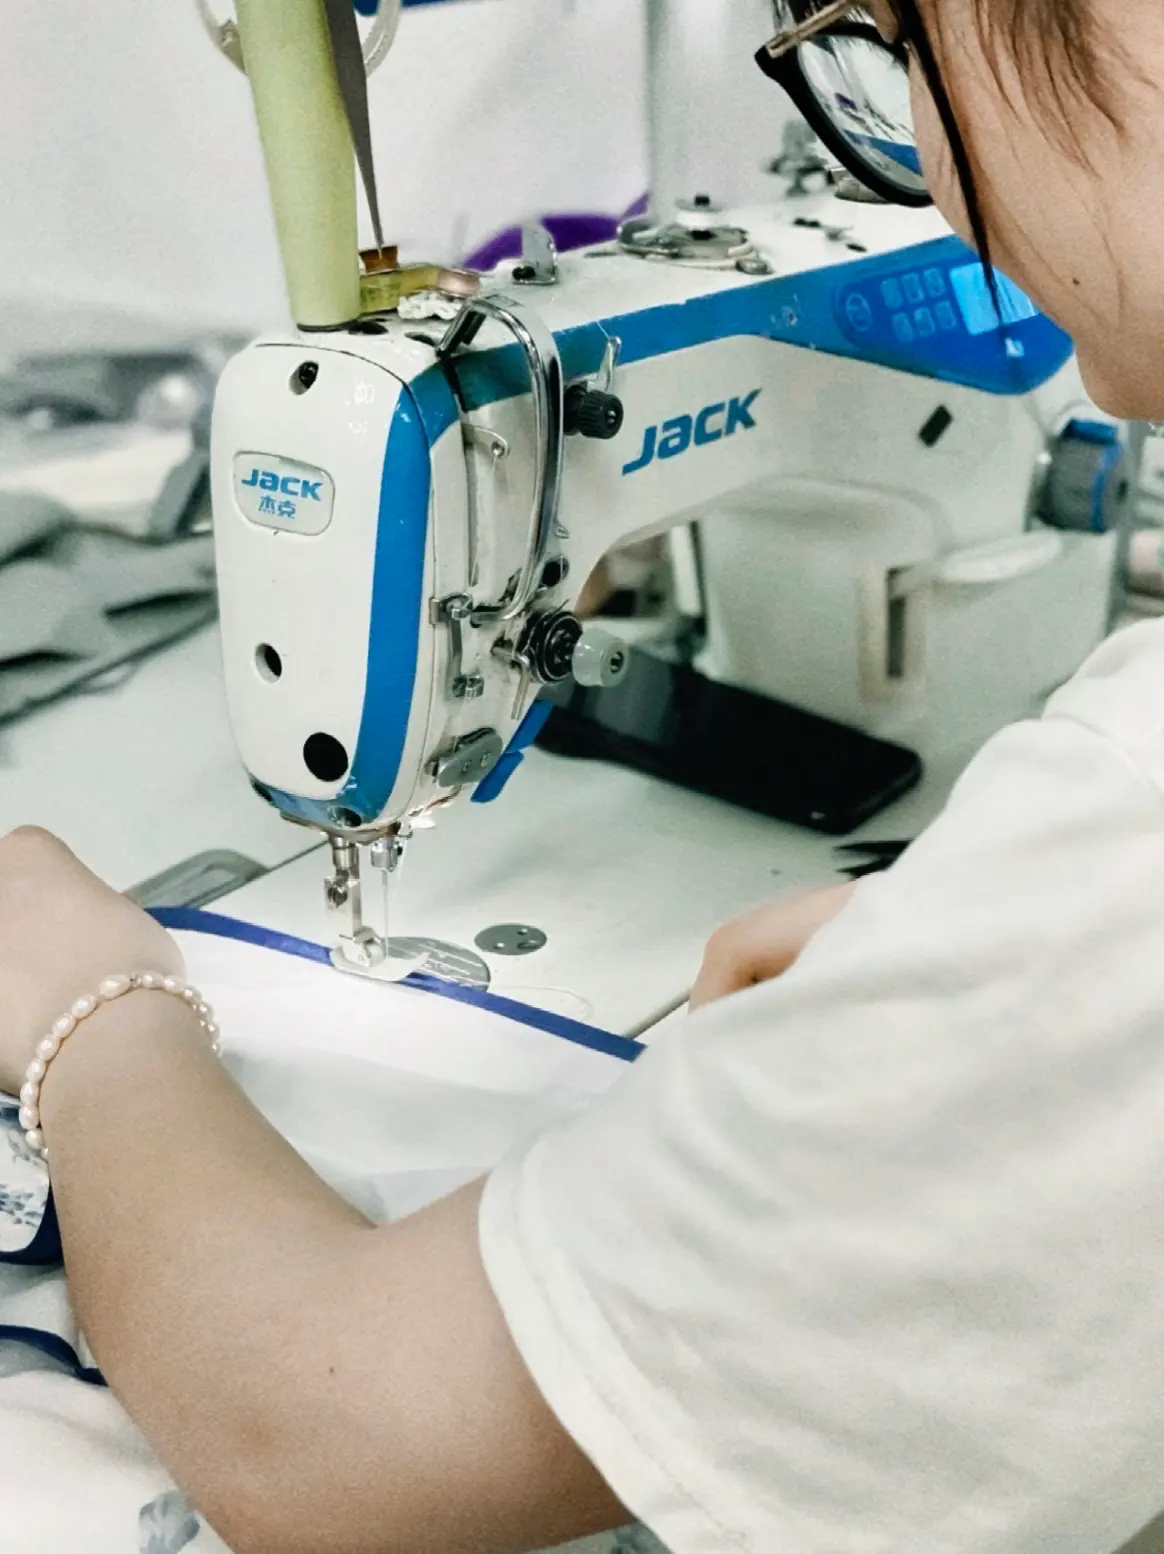
Move approved specifications into fabric prep, cutting, print or embroidery, sewing, finishing, and packing.
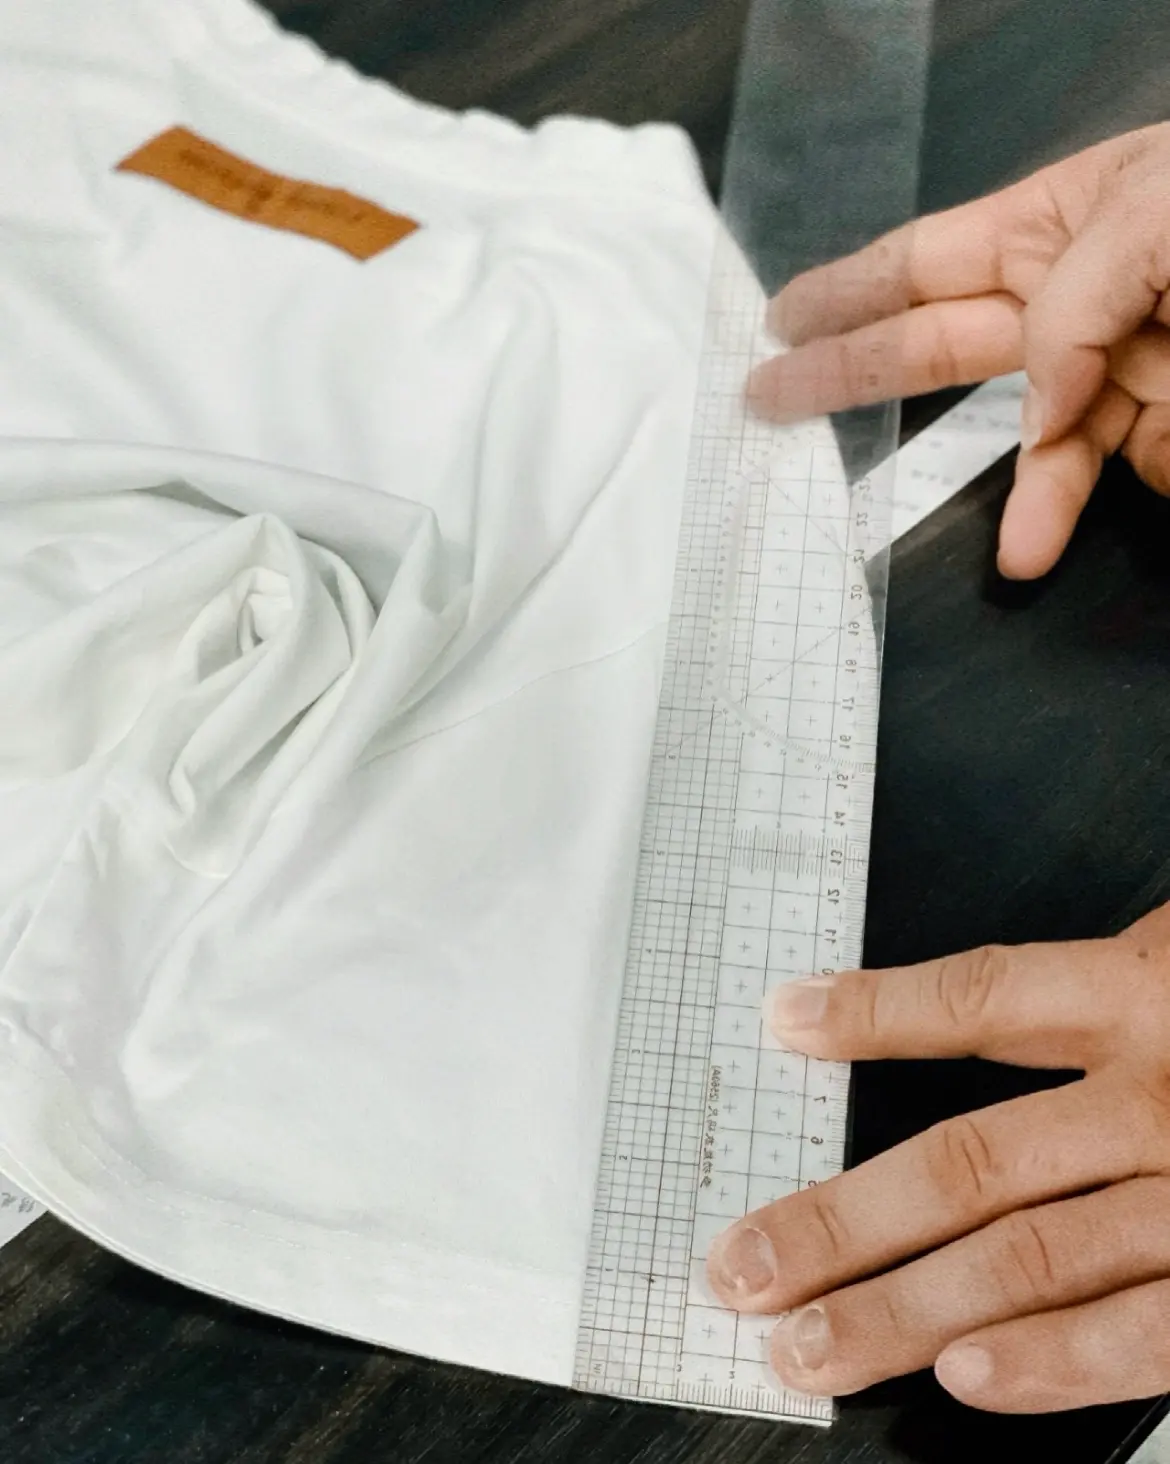
Verify measurements, construction, color, trims, packaging, carton information, and delivery documents.
Decision points
Confirm product direction and required information before quoting.
Approve fabric, fit, construction, labels, and finish before bulk.
Review final QC status, packing, and shipment readiness.
What to prepare
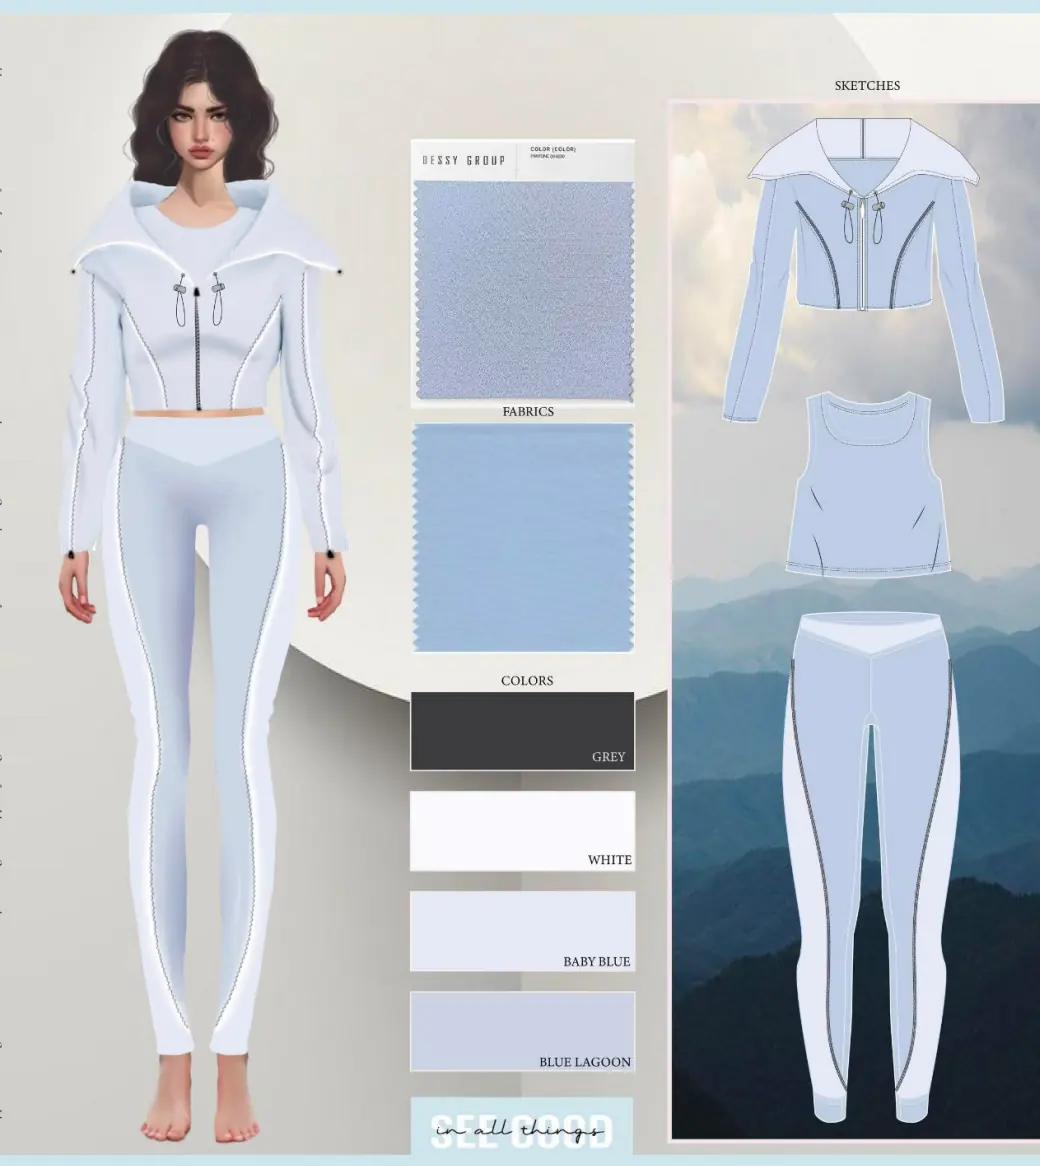
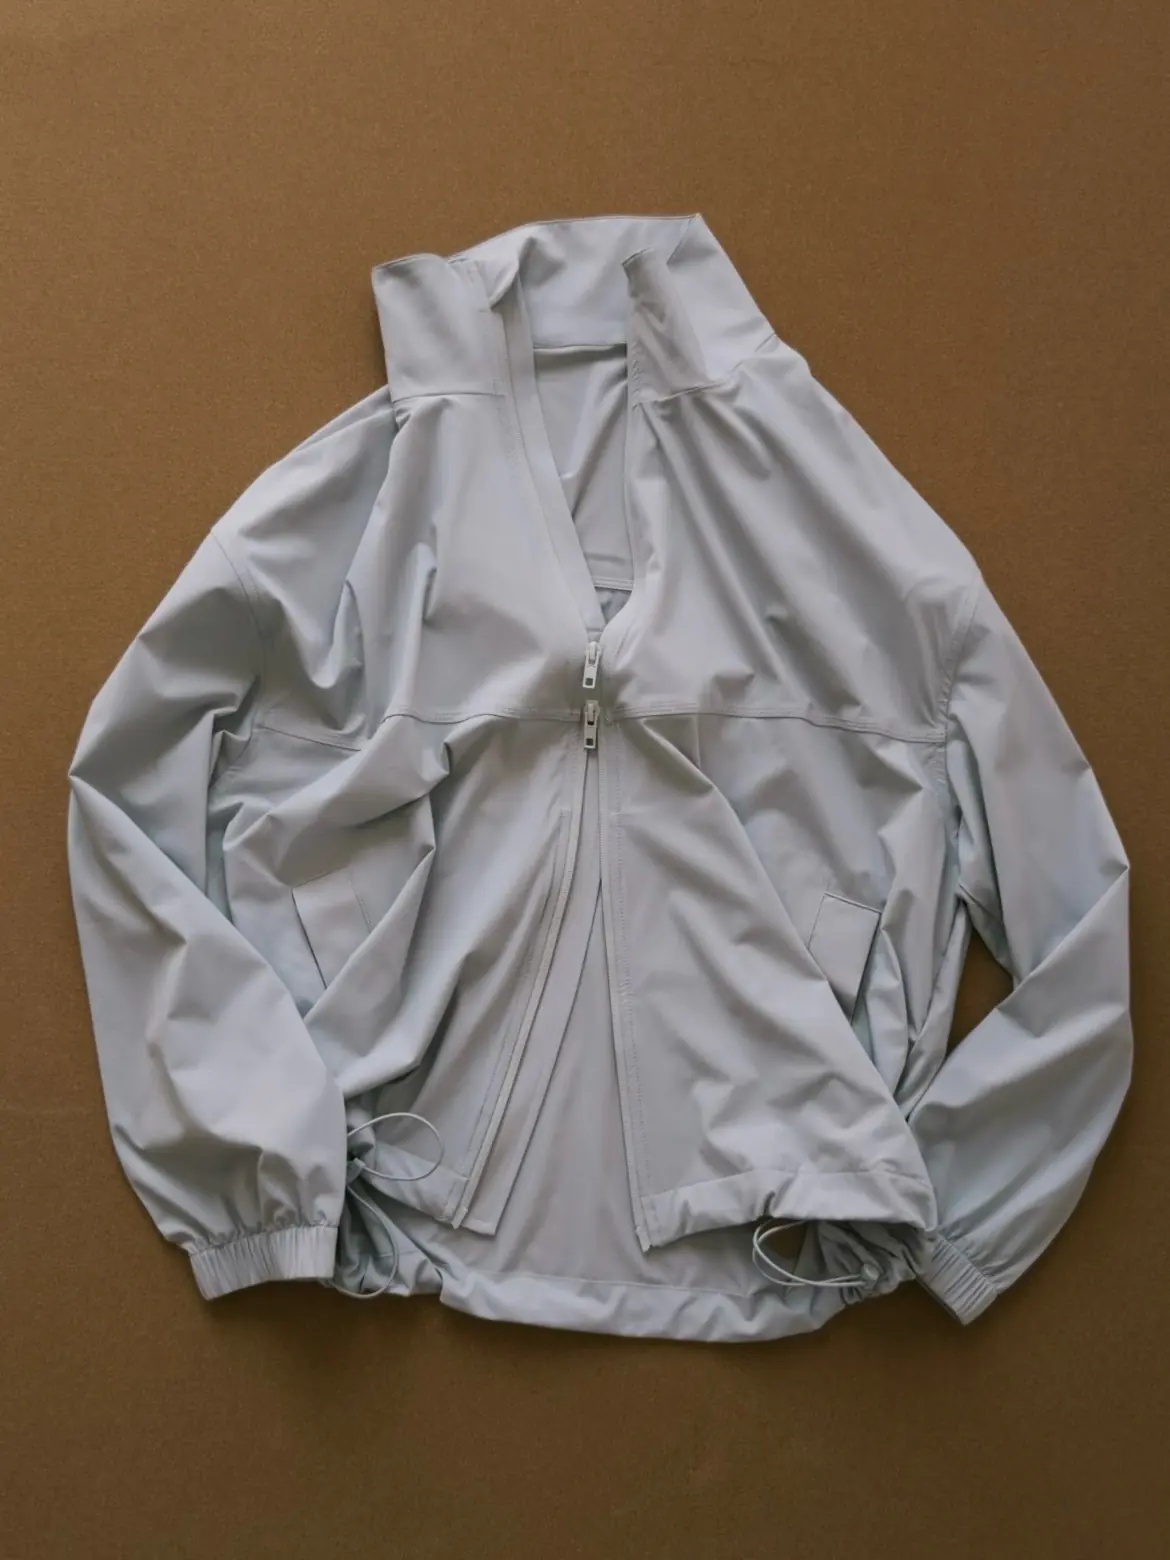
Silhouette, fabric handfeel, artwork style, trims, and fit references.
Target cost, expected retail price, quantity, market, and launch window.
Logo files, labels, packaging direction, colors, and artwork files.
Size range, fit model, grading expectations, and sample size requirements.