
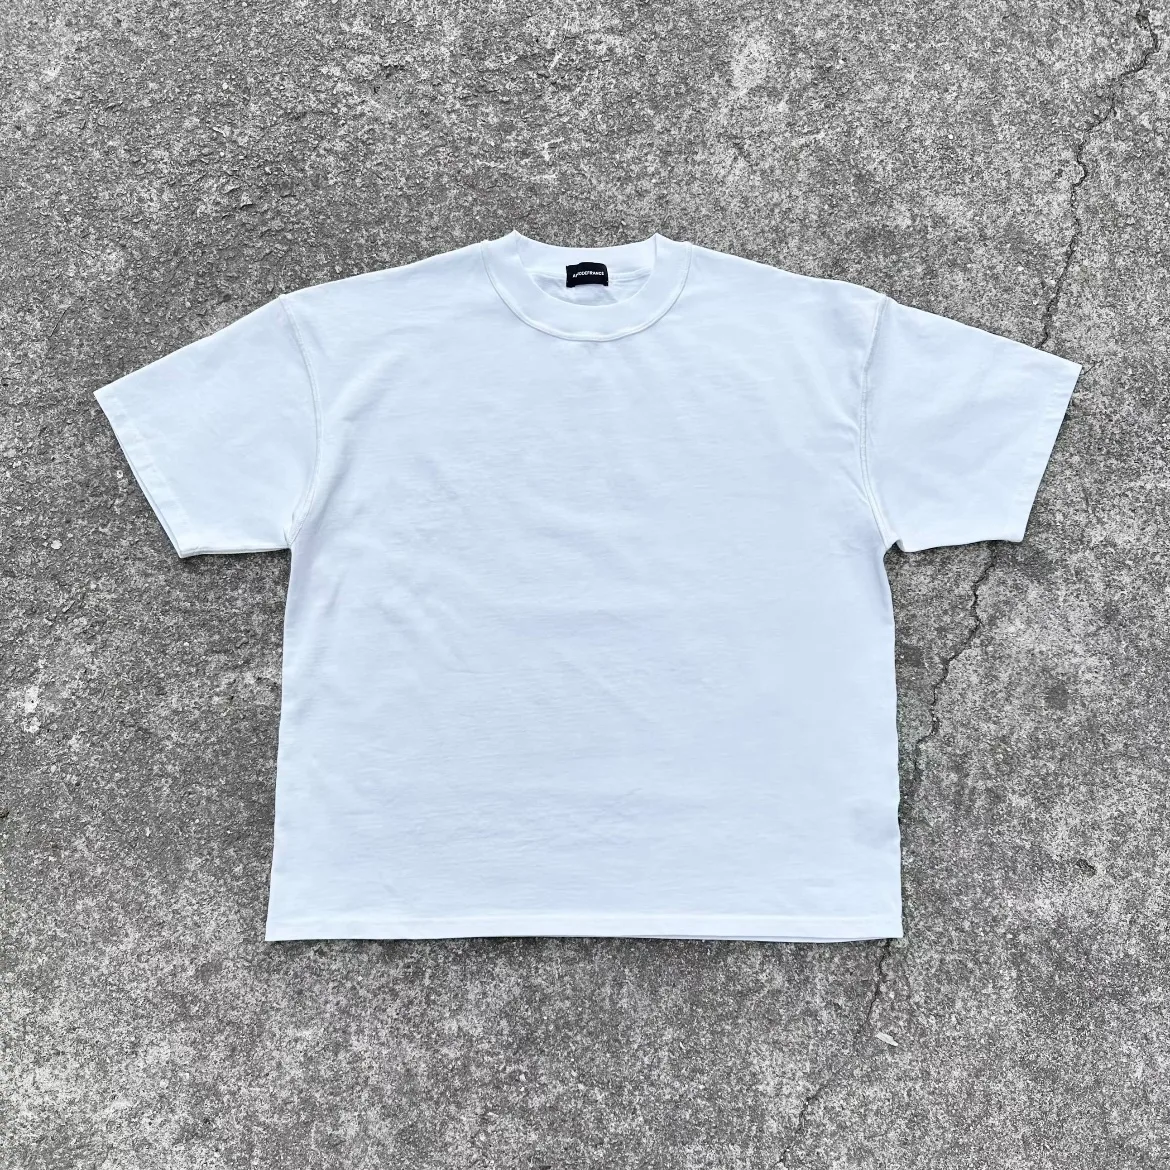
A convincing vintage washed T-shirt is defined by its finished texture, shade movement, softness, and fit—not by adding a generic 'acid wash' instruction to a purchase order. The route depends on base fabric, dye or pigment, processing sequence, decoration, and the variation a brand is prepared to accept. Buyers should approve a physical finished sample and a reasonable bulk shade range.
Define the desired vintage appearance
Vintage can mean faded pigment color, washed softness, distressed print, subtle abrasion or a combination. Use several physical references and identify nonnegotiable details. A single inspirational photo rarely communicates the acceptable range for color, seams and surface wear. Decide whether the effect should be uniform or deliberately varied.
Describe the desired result with real garment references: overall faded tone, seam highlights, distressed edges, or soft hand feel are different targets.
Choose fabric and dye routes together
Garment dyeing, pigment dyeing and washing an already-dyed fabric are not identical. The base fiber, yarn and construction influence dye uptake and final hand feel. Ask the factory to explain the selected process and compatible material. Confirm artwork timing: printing before versus after certain washes can change the distressed effect.
Choose the base jersey, dye system, and wash route together. Fiber blend and pretreatment affect color response and dimensional movement.
Expect dimensional movement
Washing can shrink or relax knit garments and alter seam appearance. Pattern allowances and finished measurements must reflect the planned wash process. Measure after washing and drying, not only at sewing completion. Sample the intended fabric and shade rather than assuming that a process tested on another material will behave identically.
Measure shrinkage and twisting after the intended finish. Pattern correction should reference finished garments, not dry fabric assumptions.
Control variation without eliminating character
A vintage look often includes natural shade differences, but uncontrolled inconsistency can still create customer complaints. Approve a range of acceptable examples for lightness, distressing and overall appearance. Identify unacceptable results, such as severe streaks, holes in weak areas or asymmetric defects that are not part of the design.
Define shade variation and abrasion boundaries. Natural wash character should not become random damage or unacceptable panel mismatch.
Make care and quality part of the design
Discuss color transfer, crocking and care instructions appropriate to the dye process. Check print durability and seams after laundering. Keep a dated reference sample and processing notes for replenishment. A repeat order should target the approved look within a defined range, not promise an impossible identical fade on every garment.
Test print and embroidery compatibility before choosing process sequence. Some decoration changes dramatically after washing.
What to include in the supplier brief
The development brief should identify which form of vintage character the brand wants. Garment dye creates overall color effects on a sewn garment; pigment-led routes can emphasize a faded surface; enzyme processing often targets hand feel and surface cleaning, depending on the recipe. These terms are not interchangeable recipes. Confirm base fabric, yarn and knit structure, target GSM, original shade, acceptable final shade variation, abrasion level and washing temperature or sequence through actual sampling. A finished sample must be measured for shrinkage and seam torque after the entire chosen process.
Factory-side controls and approval
Decoration and trims require special attention. A print may lose detail if it is washed after application, while a postwash graphic may look cleaner than the desired vintage aesthetic. Embroidery thread, neck labels, rib and sewing thread may respond differently to dye or washing. Request compatibility tests before mass sewing. For bulk approval, the buyer should keep a physical shade range, clear photos of the intended abrasion points, accepted measurements and a defect threshold for holes or weakened seams. Real vintage character is controlled variation, not an excuse for unpredictable damage.
Production decisions to document
| Decision | What the buyer should verify |
|---|---|
| Base jersey | Composition, GSM, knit and shrinkage |
| Color route | Garment dye, pigment, enzyme or other confirmed finish |
| Decoration | Prewash/postwash placement and durability |
| Bulk standard | Approved shade band, dimensions and abrasion limits |
Illustrative production scenario
A brand wants a washed charcoal tee with a vintage photographic print. If print happens before garment processing, abrasion and chemical exposure can alter the artwork; if afterward, the graphic may look too crisp for the intended aesthetic. The factory and brand should sample the order of operations, measure the finished tee, and approve the desired level of wear.
Buyer checklist
- Approve multiple physical wash references.
- Test the intended fabric and dye route.
- Use finished, post-wash size measurements.
- Define acceptable shade, distressing and care performance.
Two mistakes to avoid
- Using an undefined term like 'vintage wash' as the entire specification.
- Expecting every piece to have exactly identical random fading.
Frequently asked questions
Will every vintage-washed shirt look identical?
No; set a controlled acceptable range for intentional variation.
Can I print before washing?
Sometimes. It depends on the desired effect and process compatibility.
Does washing change size?
It can. Confirm measurements after the full finishing process.
Discuss your project with MuseArk Studio
Share your wash references, desired shade, jersey, print artwork, quantities, and size range. We can plan a sample to validate the finished effect.
Request a Custom Apparel Production ReviewRelated MuseArk resources
- Garment dye, pigment wash, and enzyme wash
- Custom T-shirts and jerseys
- Factory and sample evidence